This post may contain affiliate links. If you buy through them, we may earn a small commission at no extra cost to you.
Living in a studio apartment means every square foot has to earn its keep. The good news is that Japanese-style organizing principles—clear zones, hidden storage, and a ‘place for everything’—pair beautifully with Japandi aesthetics, which favor calm, uncluttered rooms over stuffed-to-the-brim ones. Instead of fighting your open floor plan, you can use it as a blank canvas to create distinct living, sleeping, and working areas without walls. Below are 12 layout ideas that will help your studio feel bigger, calmer, and more intentional, one zone at a time.
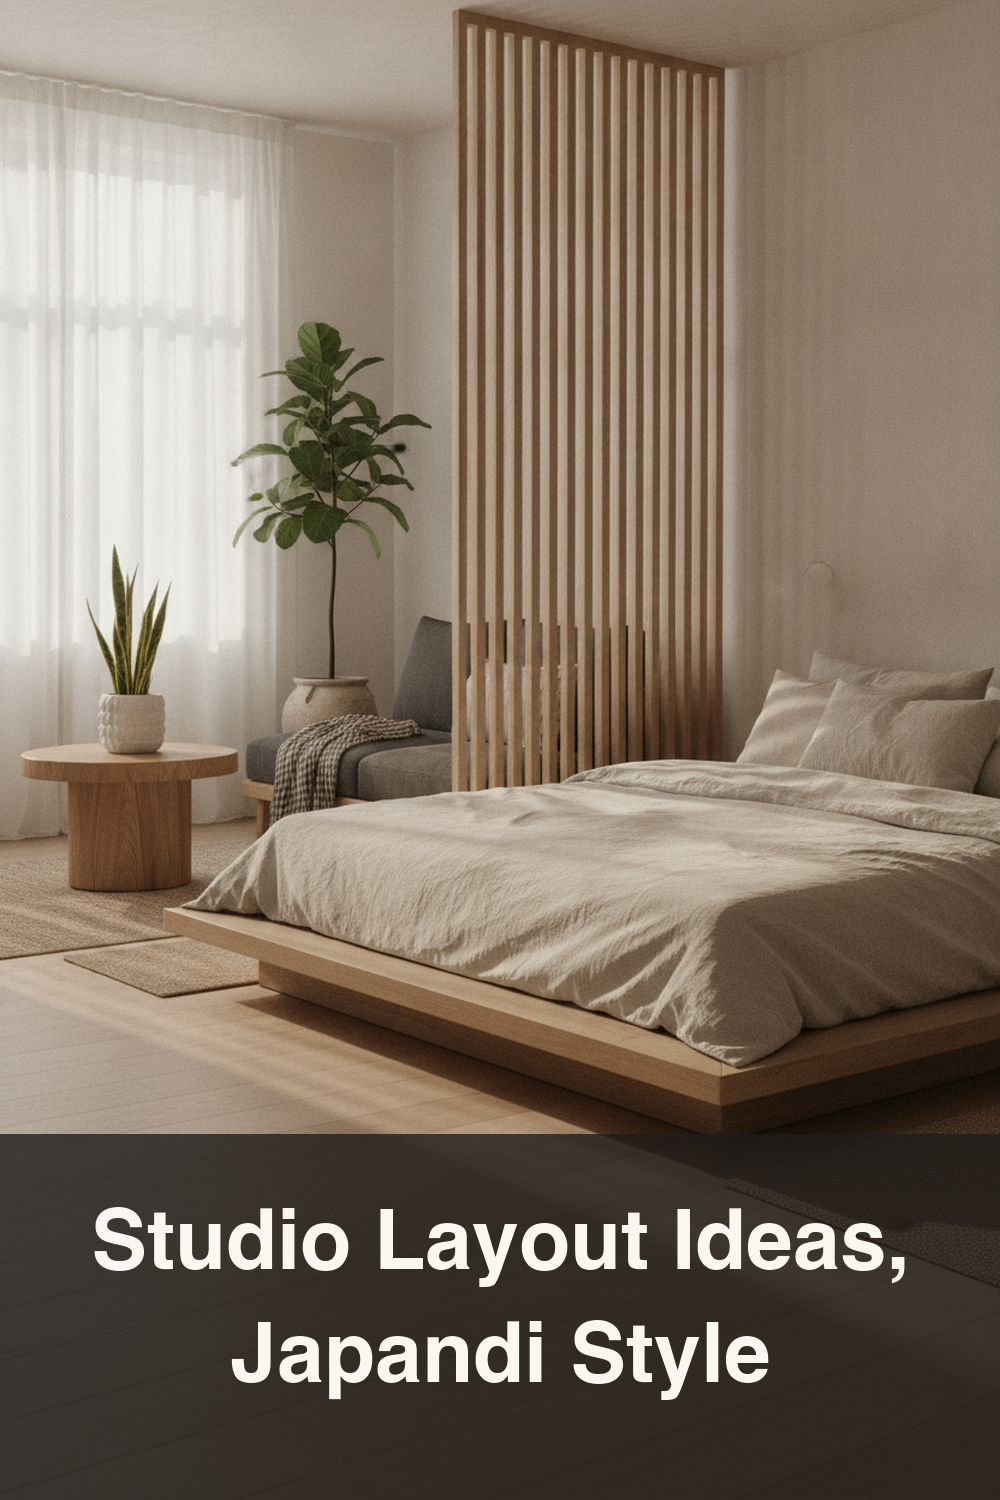
1. Anchor the Room with a Low-Profile Bed
In Japandi design, furniture sits closer to the floor, which visually lowers the ceiling line and makes a small room feel more spacious rather than cramped. Swap a tall bed frame for a platform bed or even a floor futon setup that can be aired out and organized during the day. A low bed also opens up sightlines across the studio, so your eye travels further before hitting an obstacle, which is a simple trick that makes any studio read as larger.
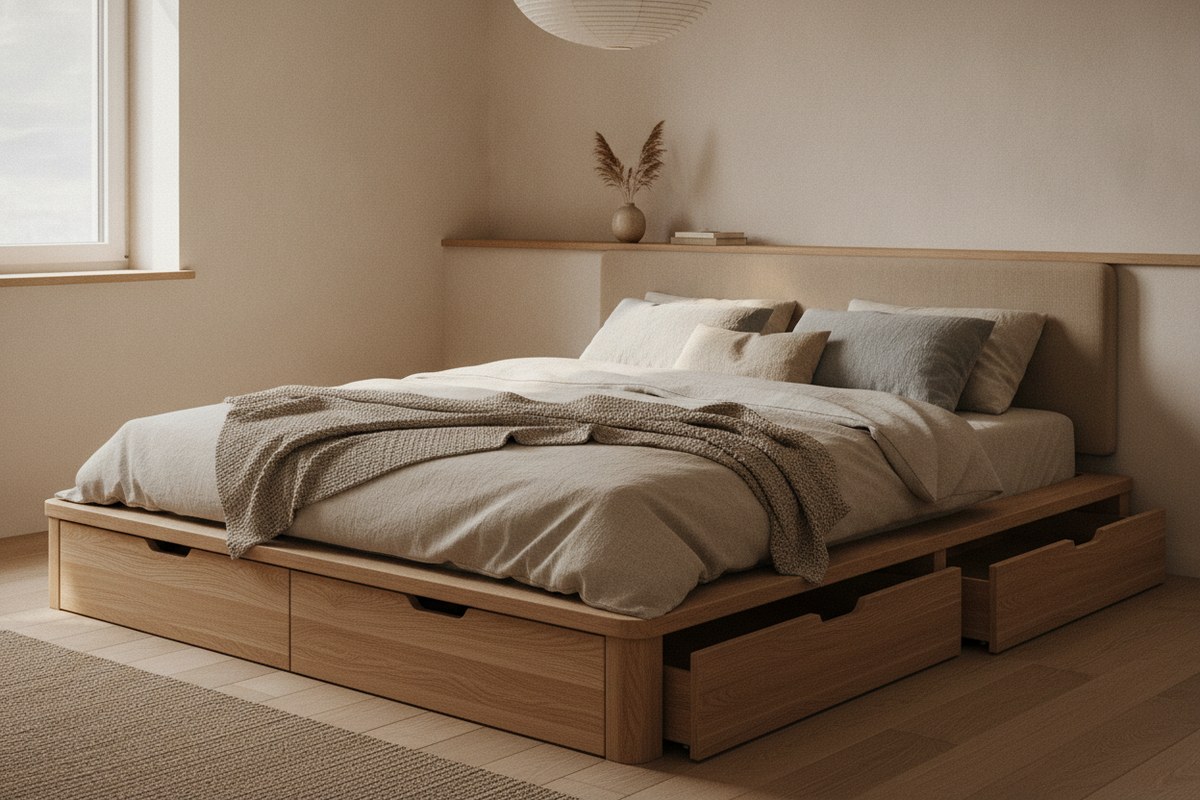
2. Use a Bed Frame with Built-In Storage
Since you likely don’t have a separate closet-sized storage room, let your bed do double duty. A platform frame with built-in drawers keeps off-season clothing, linens, and bags tucked away without adding visual clutter. If you already have a bed you love, add under-bed storage bags to capture that dead space underneath. This is one of the easiest ways to borrow storage from an area you’re not otherwise using.
3. Create Zones with Area Rugs, Not Walls
One of the simplest layout tricks for a studio is to define zones using rugs instead of furniture or partitions. A low-pile natural-fiber rug under your bed signals ‘sleep zone,’ while a second rug near your sofa or reading chair marks the living area. This keeps the floor plan open and airy—very much in the Japandi spirit—while still giving your brain visual cues about how each part of the room functions.
4. Let a Sofa or Bench Divide the Room
If you’d rather not install a folding screen, place a low sofa, bench, or open shelf with its back facing the bed. This creates a soft boundary between your sleeping and living areas without blocking light or making the room feel chopped up. Choose pieces with slim silhouettes and natural wood tones to keep the divide feeling more like a design choice than a barrier.
5. Bring in a Shoji-Inspired Room Divider
For renters who want a bit more privacy between the sleep and living zones, a lightweight shoji-style room divider screen is a classic Japandi solution. These screens let light filter through their paper or fabric panels, so you get a sense of separation without darkening the room. They also fold flat or slide out of the way when you want the whole studio to feel open again, like for hosting friends.
6. Float Furniture Away from the Walls
It’s tempting to push every piece of furniture against the wall to ‘save space,’ but in a studio this often backfires by creating one large, undefined room. Instead, pull your sofa or bed a few inches off the wall and use that gap for a slim console or a stack of woven baskets. Floating key pieces helps carve out distinct zones and gives the room a more considered, gallery-like flow.
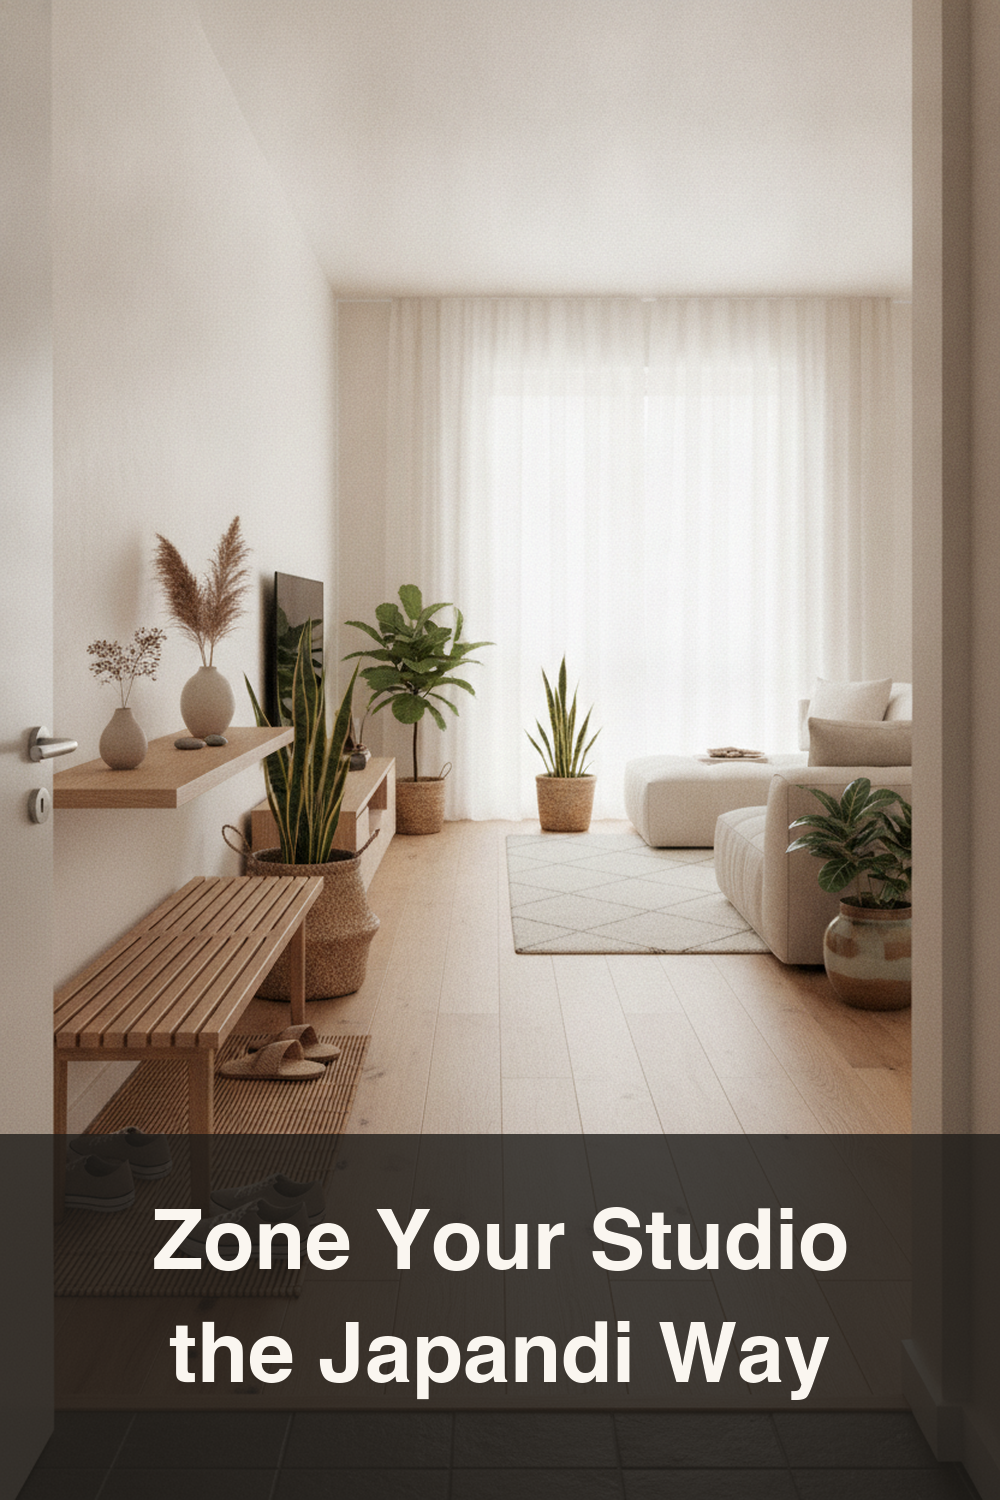
7. Design a Genkan-Style Entry Landing
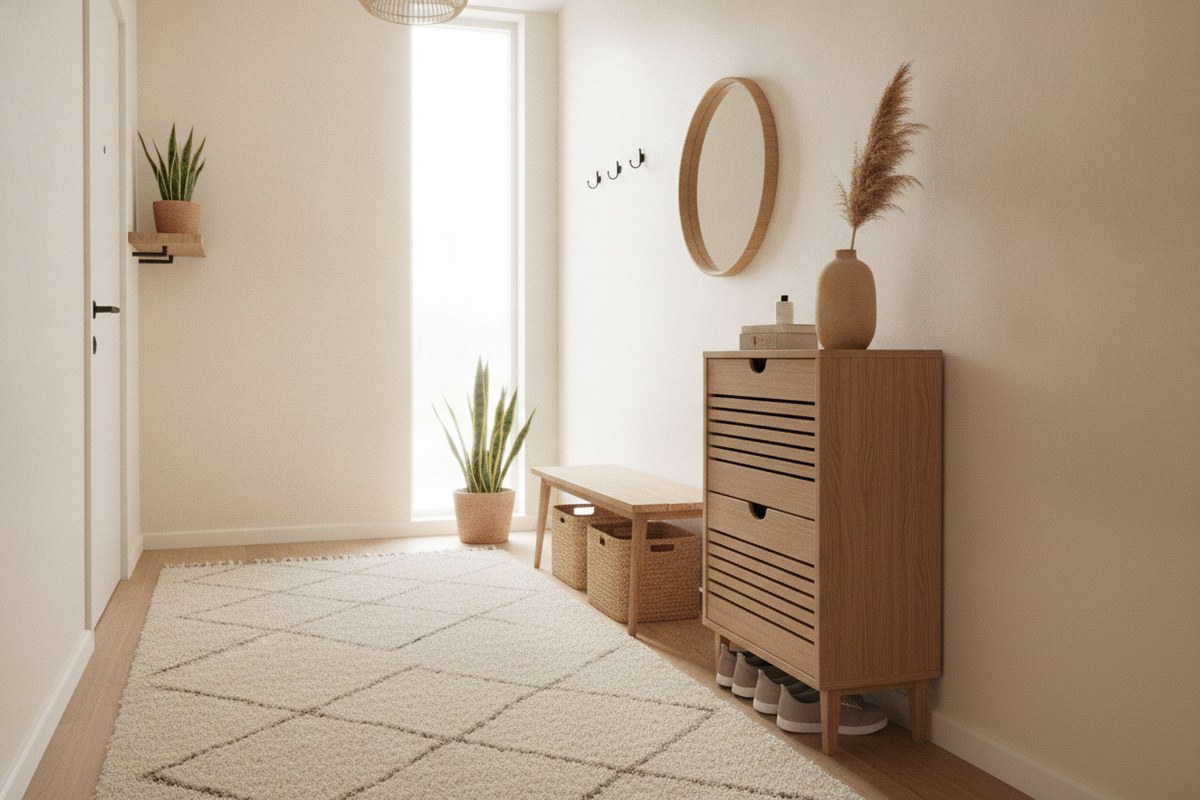
Traditional Japanese homes have a genkan, a small entry area where shoes come off before stepping up into the living space. Recreate this in your studio with a slim shoe rack, a low bench, and a small tray for keys just inside your door. Adding a slim entryway shoe cabinet keeps outdoor clutter from spilling into your main living zone and makes coming home feel like an intentional transition rather than just dropping your bag on the floor.
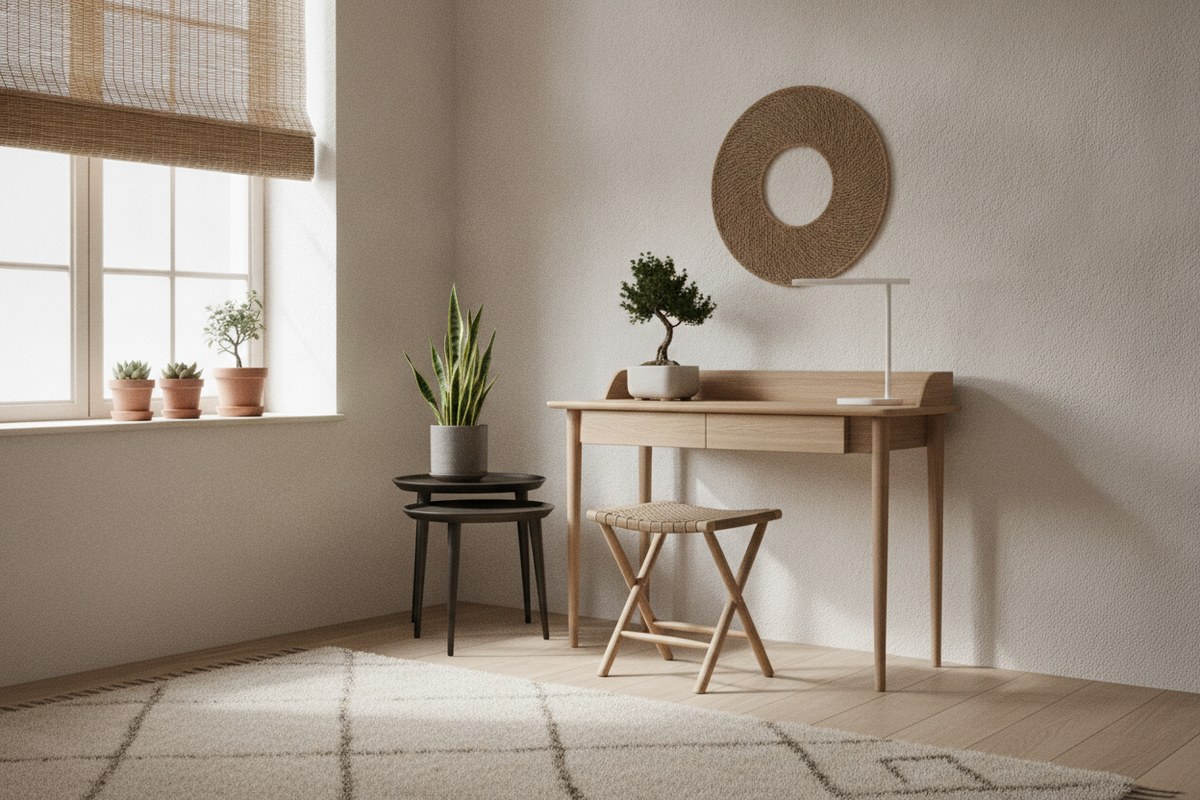
8. Tuck a Desk into an Underused Corner
Work-from-home setups often get shoved into the busiest sightline of a studio, but a corner near a window is usually a better fit. A slim small corner desk for studio apartment layouts lets you claim a work zone without eating into your living or sleeping space. Keep the desktop clear at the end of each day—a very Japanese habit—so the corner can visually ‘reset’ back into a calm nook by evening.
9. Choose Nesting or Foldable Furniture for Flex Zones
Studios benefit enormously from furniture that can change roles throughout the day. A set of nesting side tables can expand into a coffee table for guests or collapse back down when you need floor space for yoga or stretching. Foldable stools, drop-leaf tables, and stackable trays all support this kind of flexible, multi-use layout that Japandi and Japanese small-space living both rely on.
10. Layer Lighting to Reinforce Each Zone
Since your studio doesn’t have separate rooms, lighting becomes one of your best zoning tools. Use a warm floor lamp near your reading chair, a pendant or clip light over your desk, and a softer bedside lamp near your bed instead of relying on one overhead fixture for the whole space. This layered approach, common in Japandi interiors, makes each zone feel like its own little room even though they share one open floor plan.
11. Keep a Clear Sightline from the Door
In Japanese home design, there’s real value placed on what you see the moment you walk in. Arrange your layout so the first thing you notice is something calm and intentional—a clean console, a plant, or a neatly made bed—rather than a pile of shoes or laundry. Keep a small basket by the entry for daily clutter like mail so it never becomes the visual focal point of your studio.
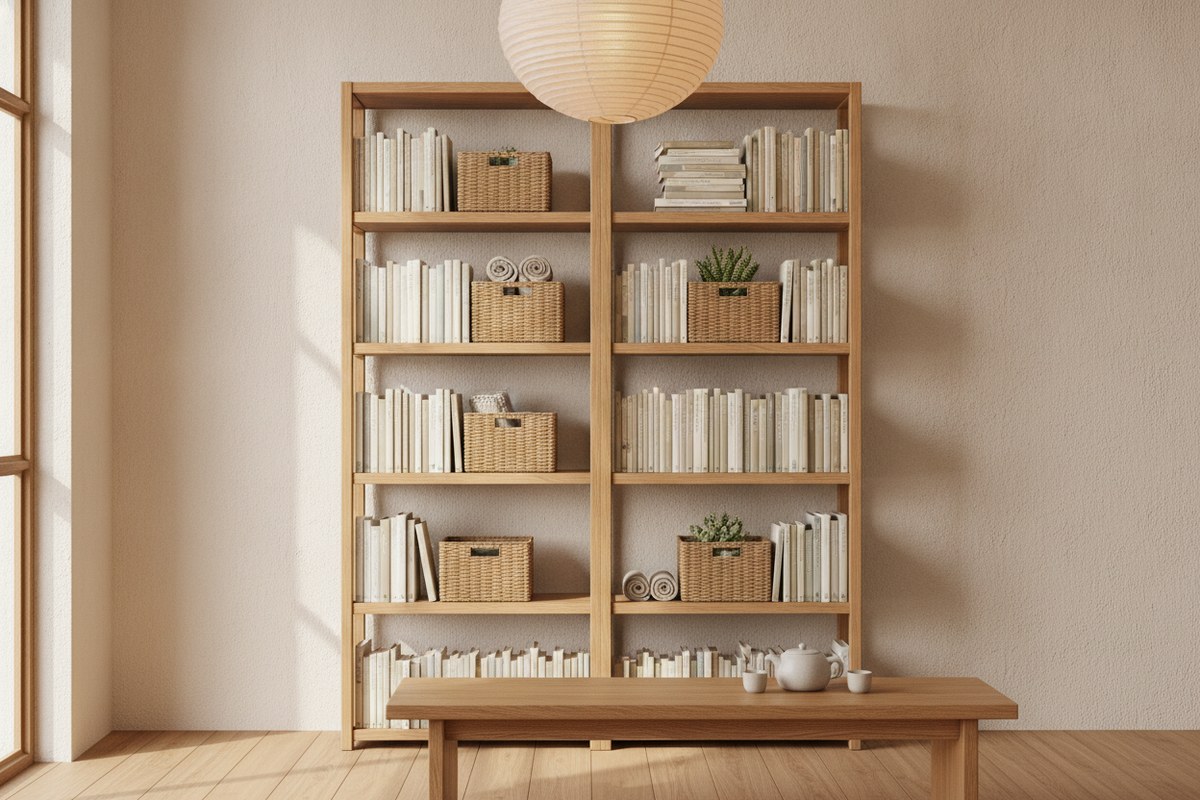
12. Reserve One Wall for Vertical Storage
When floor space is limited, the walls become prime real estate. Dedicate one wall to slim, floor-to-ceiling shelving so your storage grows up instead of out. A slim vertical bookshelf can hold books, folded clothes in baskets, and display items, freeing up your remaining walls to stay clean and uncluttered, which keeps the whole studio feeling calmer.
Laying out a studio apartment in a Japandi style isn’t about buying more furniture—it’s about being deliberate with what you keep out in the open and what gets tucked away. Start with one or two of these ideas, like floating your furniture off the wall or adding under-bed storage, and build from there. Over time, your studio will feel less like one crowded room and more like several calm, purposeful spaces working together.