This post may contain affiliate links. If you buy through them, we may earn a small commission at no extra cost to you.
Living in a studio means every square foot has to pull double duty, but that doesn’t mean your space needs to feel like one undefined blob. Japanese interiors have long solved this problem with shoji screens, tatami zoning and furniture that defines purpose without building permanent walls. Borrow that same thinking and you can carve a single room into a cozy bedroom, a focused workspace, and a relaxed living area — all without losing light or square footage. Here are ten layout ideas that create real separation in a studio apartment, Japandi style.
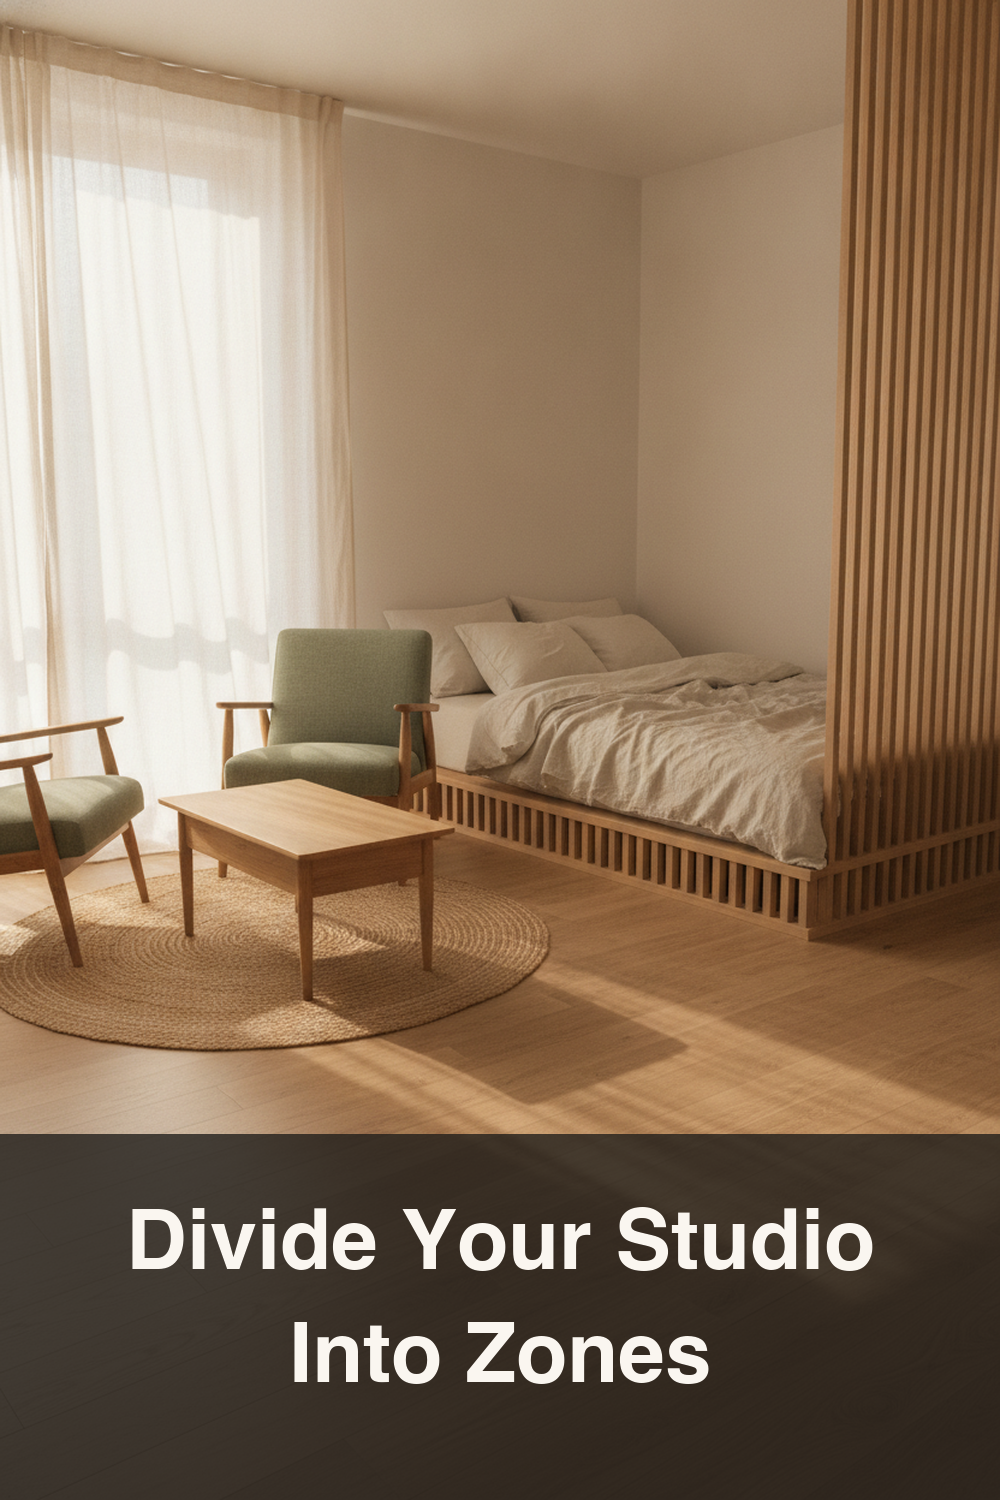
1. Anchor Each Zone With a Rug
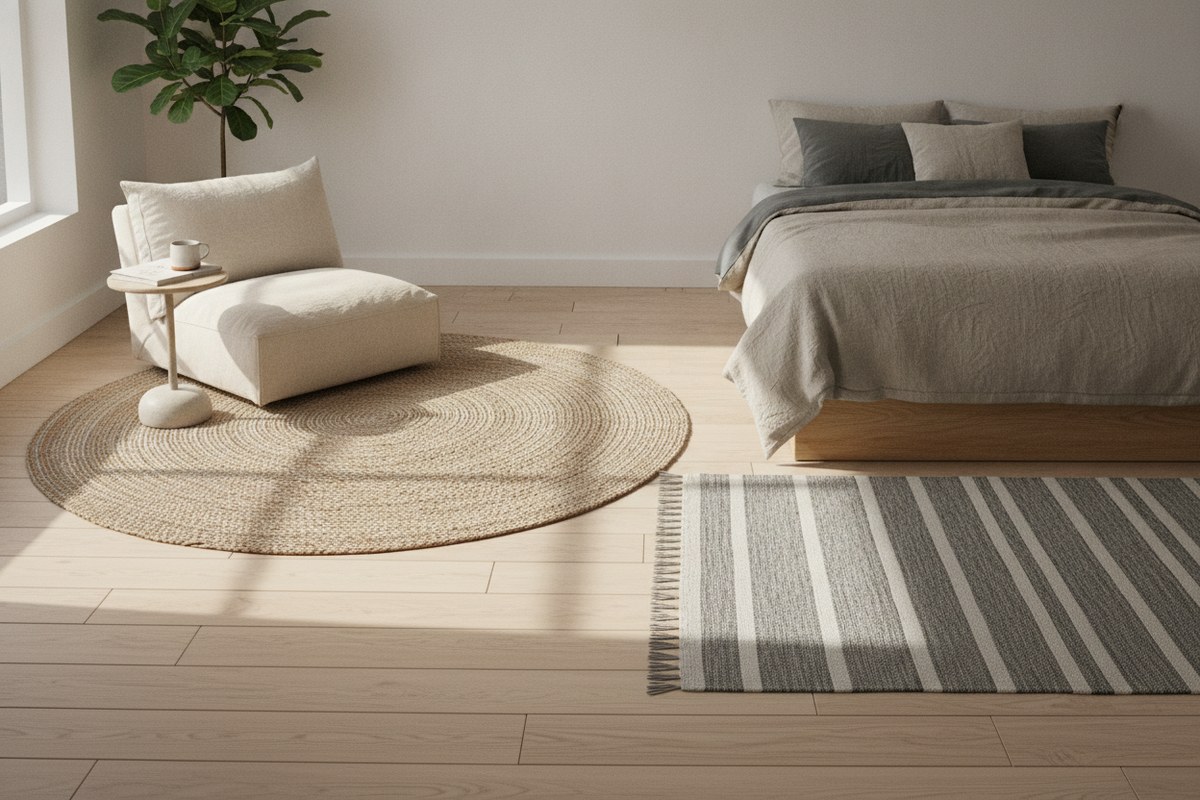
The fastest, cheapest way to signal “this is a different area” is to change what’s underfoot. Lay a low-pile area rug for small spaces under your sleeping area and a second, visually distinct one under the seating or dining spot. Your brain reads the change in texture and color as a boundary, even when there’s no actual wall. Keep both rugs in a similar neutral palette so the zones still feel connected rather than chopped up — this is the Japandi balance between separation and harmony.
2. Use a Low Open Shelf as a Soft Divider
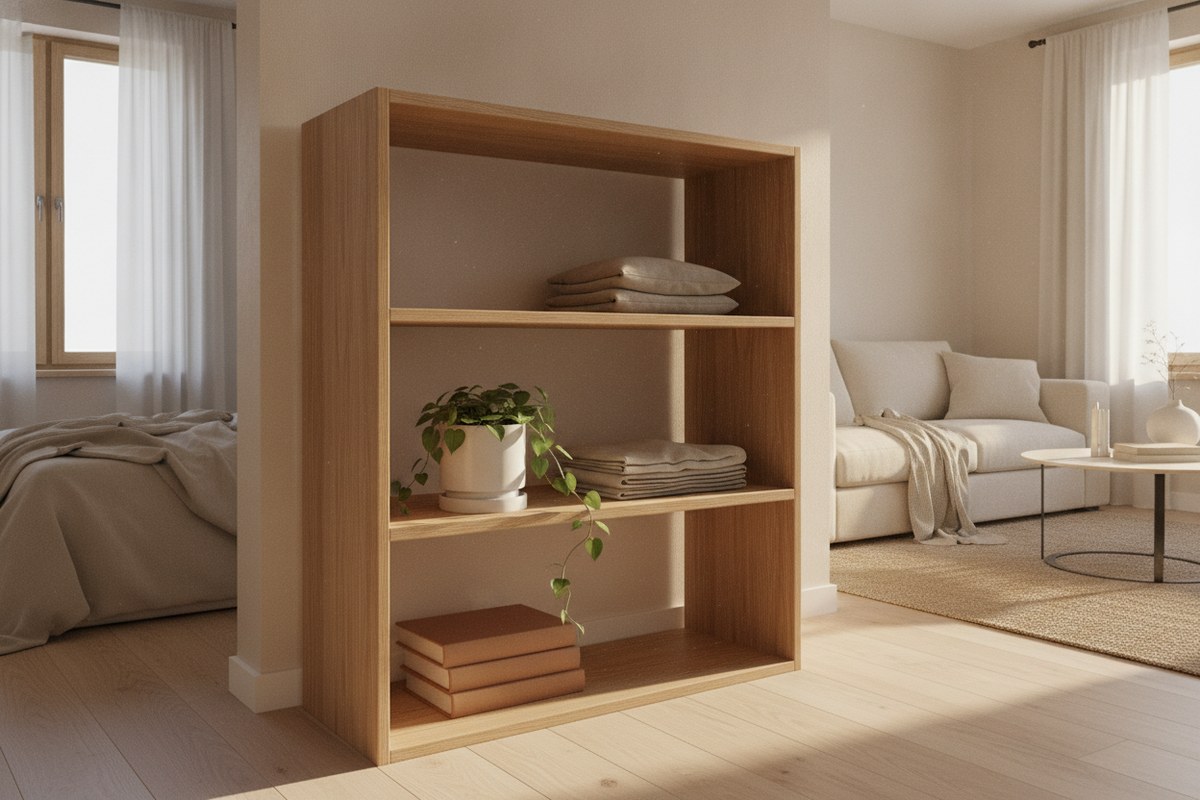
A waist-height, open-backed shelving unit is one of the best tools for studio zoning because it divides space while still letting light and sightlines pass through. Position a low bookshelf room divider perpendicular to the wall to separate your bed from the living area, and use the shelves themselves for folded textiles, books, or a few curated objects. Because it’s open rather than solid, the room still feels airy — a key Japandi principle of using furniture to organize rather than enclose.
3. Install a Curtain Track for Flexible Privacy
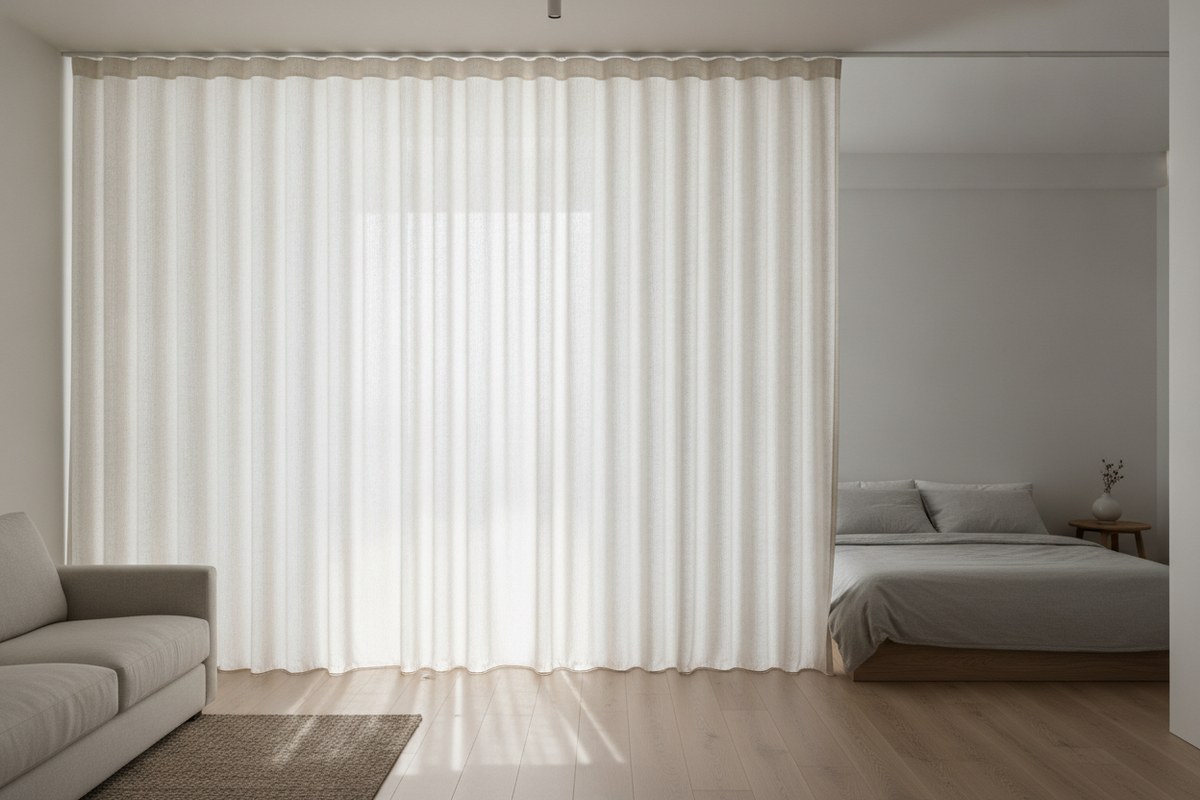
If you want the option to fully close off your sleep zone at night and open it back up during the day, a ceiling-mounted curtain track is worth the small investment. A tension curtain rod room divider can be installed without drilling in most rentals, and a linen or cotton panel in a soft neutral tone keeps the look calm rather than dorm-room-dramatic. This is one of the few solutions that gives you true acoustic and visual privacy when you need it, then disappears into a slim stack when you don’t.
4. Float Your Bed Away From the Wall
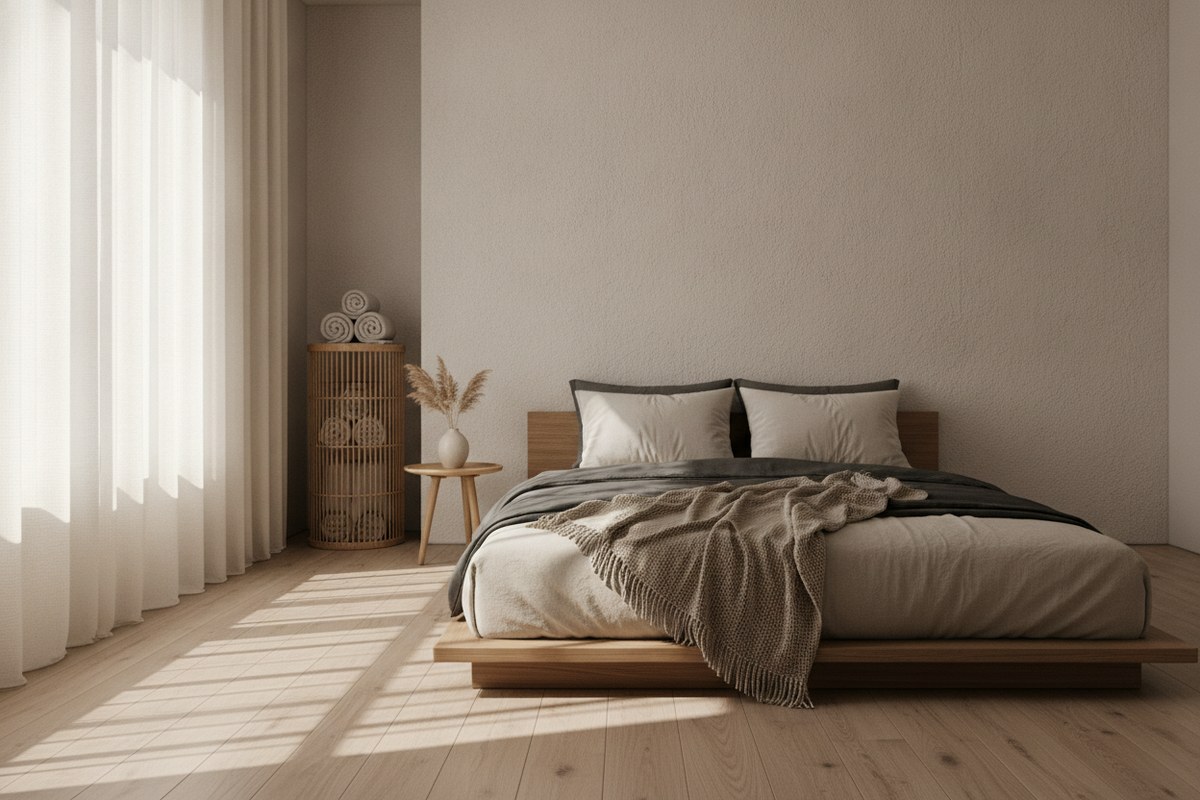
Counterintuitively, pulling your bed a foot or two away from the wall and centering it on its own “island” can make a studio feel more zoned, not less. The empty sliver of space behind the headboard reads as a buffer, and you can use it to slide in slim storage. Pair this with a low platform frame rather than a tall one — platform beds keep sightlines open across the room, which matters enormously when you don’t have walls to break up the view.
5. Try a Japanese-Style Shoji Screen
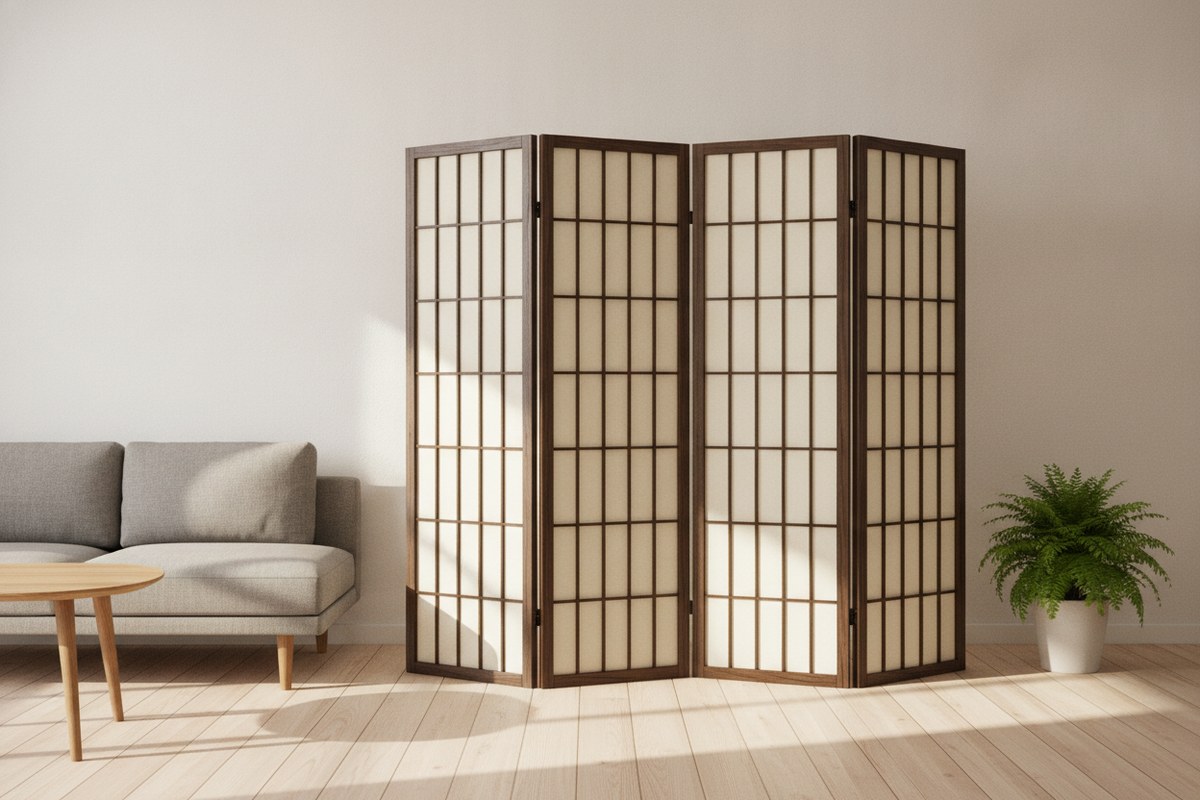
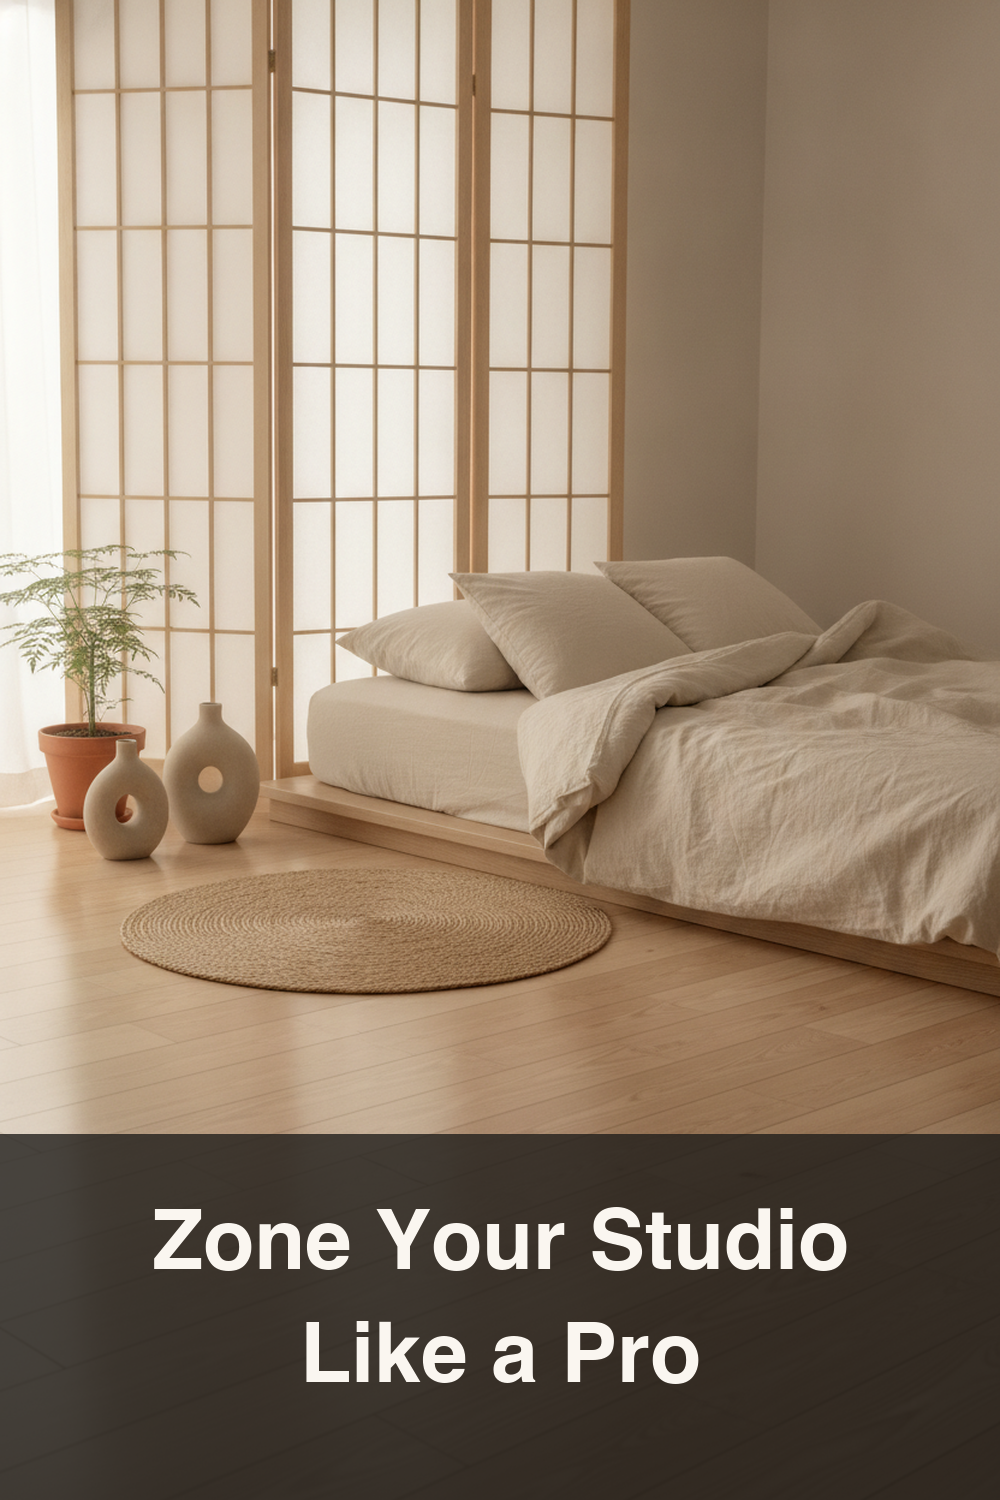
Nothing nails the Japandi layout aesthetic quite like an actual shoji-inspired screen. A folding shoji screen room divider filters light through its rice-paper-style panels instead of blocking it outright, so your sleeping nook stays softly lit even when the screen is closed. It also folds flat against a wall in seconds, which makes it ideal for studios where every layout needs to be reversible for cleaning, guests, or simply changing your mind.
6. Let Lighting Define Each Zone
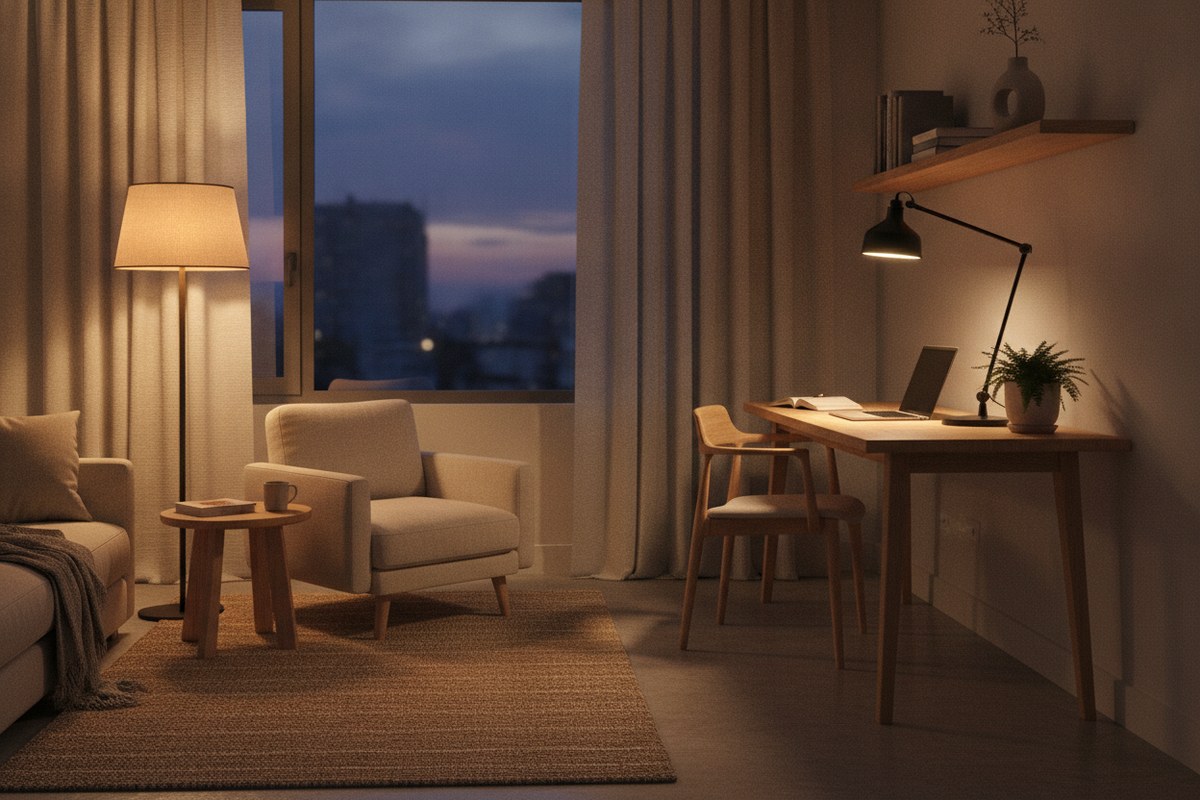
In Japanese interiors, lighting is often used the way walls are used elsewhere — to mark where one activity ends and another begins. Swap your single overhead fixture for several smaller light sources: a warm floor lamp by the reading chair, a focused desk lamp over your workspace, and soft LED strip lights tucked under a shelf near the bed. When each zone has its own light temperature and height, the eye naturally separates the areas even in an open floor plan.
7. Create a Micro Entry Zone (Genkan-Inspired)
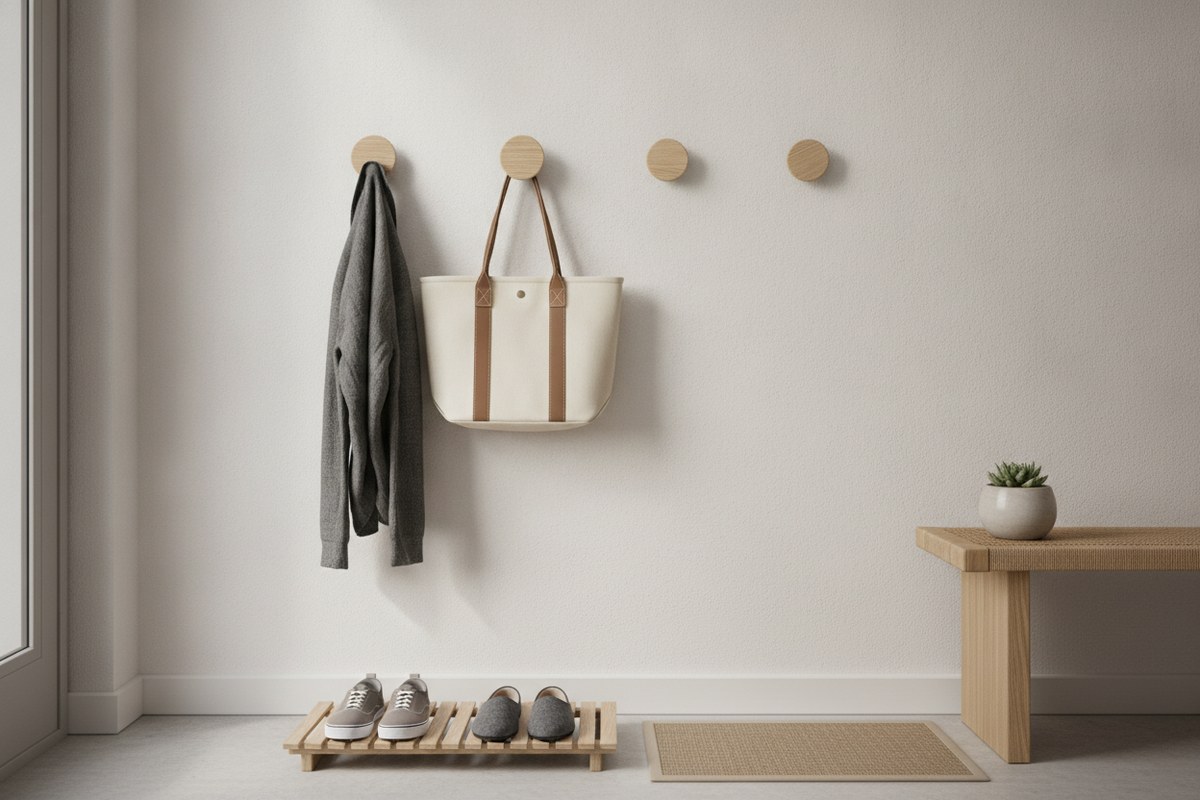
Traditional Japanese homes always have a genkan — a small entry area where shoes come off before stepping up into the living space. You can recreate this in a studio with just a slim mat, a low shoe tray, and a row of wall hooks right inside the door. This tiny ritual zone keeps outdoor grime contained to one corner and gives your brain a clear “threshold” moment between outside and home, even when that threshold is only two feet deep.
8. Add a Slim Desk Nook for a Work Zone
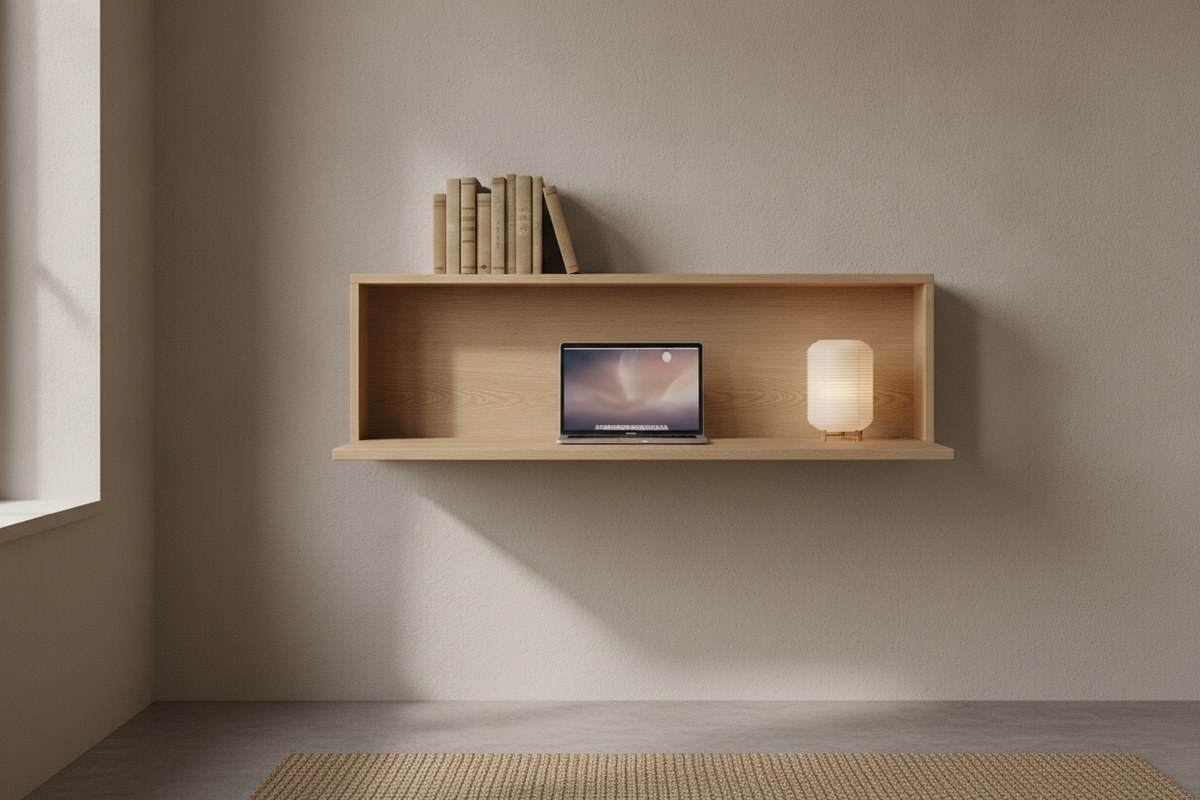
Work-from-home studios need a dedicated zone that isn’t also your dining table, or your brain will never fully clock out. A slim fold-down desk mounted against an underused wall creates a real workspace in as little as 12 inches of depth, and it folds away completely at the end of the day. Pair it with a single wall shelf above for files and supplies so the whole zone stays contained to one vertical strip of wall.
9. Use Vertical Storage Instead of Walls
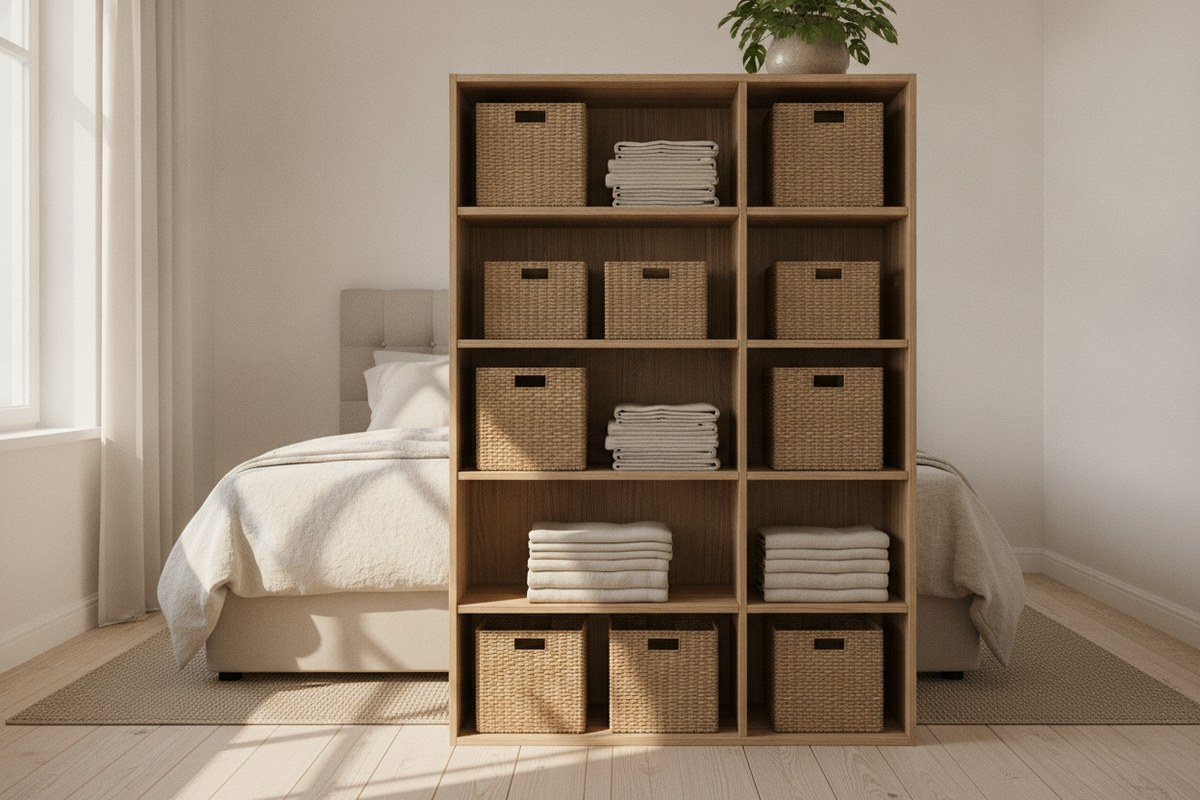
When you can’t add a physical divider, go up instead of across. Tall, narrow storage — think a slim bookcase or a stack of stackable storage bins — can mark a zone boundary while keeping the footprint minimal. This is especially useful at the foot of a bed or along the edge of a kitchenette, where a full-width divider would eat up precious walking room but a slim vertical piece won’t.
10. Keep Clear Walking Paths Between Zones
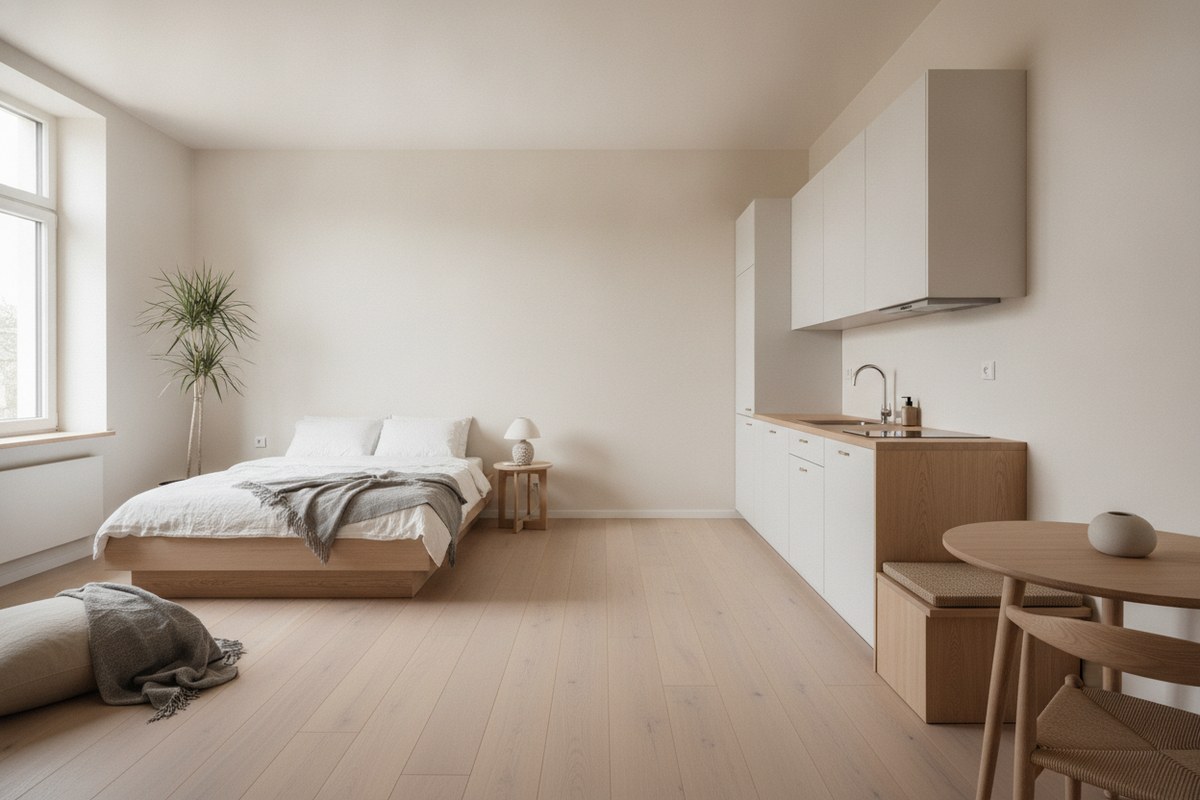
Finally, the most overlooked rule of studio zoning: leave room to walk. Japanese spatial planning places huge value on ma, the meaningful empty space between objects, and in a small apartment that translates to keeping at least a narrow, unobstructed path between your sleeping, working, and living areas. Before you finalize any layout, walk the route from your door to your bed to your kitchen — if you’re sidestepping furniture, pull pieces back a few inches until the path feels effortless. A zoned studio should feel calmer than an open one, not more cluttered.
Dividing a studio doesn’t require construction or a big budget — it just requires intention. Start with one or two of these ideas, like a rug change and a lighting tweak, and layer in more structure as you see what your daily rhythm actually needs. The goal isn’t to make your studio look bigger; it’s to make each part of it feel like it has a clear, calm purpose.